现在大部分笔记本电脑都是Windows 11系统,有些新用户不知道如何启动Power Automate,接下来小编就给大家介绍一下具体的操作步骤。
具体如下:
-
1. 首先第一步根据下图箭头所指,找到并双击【控制面板】图标。

-
2. 第二步在弹出的窗口中,根据下图箭头所指,点击【Windows工具】选项。
-

-
3. 第三步在【Windows工具】页面中,根据下图箭头所指,点击【Power Automate】选项。

-
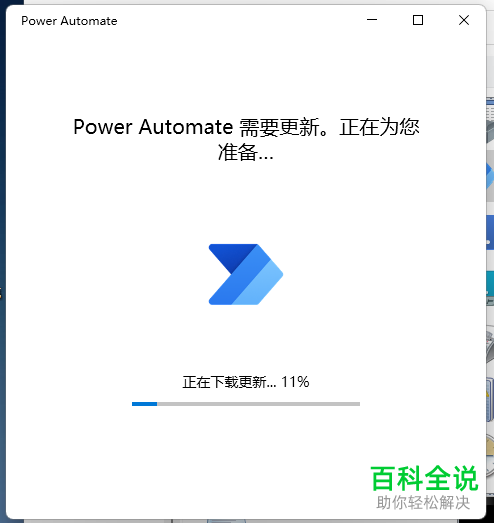
4. 第四步在弹出的窗口中,根据下图所示,正在下载更新。
-
5. 第五步等待软件更新完成,根据下图箭头所指,先输入账号,接着点击【登录】选项,然后输入密码并再次点击【登录】。


-
6. 最后成功登录软件,根据下图所示,即可正常使用Power Automate。

-
以上就是Windows 11系统如何启动Power Automate的方法。


